
The Hario Switch is very similar to the Clever Dripper immersion brewer that we previously did a brew guide on. However, the Switch can also be used as a regular pour over dripper for added versatility, and it also uses V60 filter paper. At the bottom is a switch that moves a stainless steel ball up or down to open and close the valve. Leave the switch open and you can use it as a regular pour over dripper.

In our brew methods post we talked about how immersion brew methods tend to be much more forgiving than percolation methods, so this is the best of both worlds. Immersed coffee tends to have more body while a pour over has a cleaner cup with more clarity, try it both ways to see how you like it. With immersion brewing on the switch you just add hot water and stir and let it sit there for 2-3 minutes (detailed instructions below), if you forget the timing or don’t have the perfect grind size the coffee won’t be ruined, you should still have a very drinkable cup of coffee. If you mess up the timing or grind size on a pour over you can taste the results.
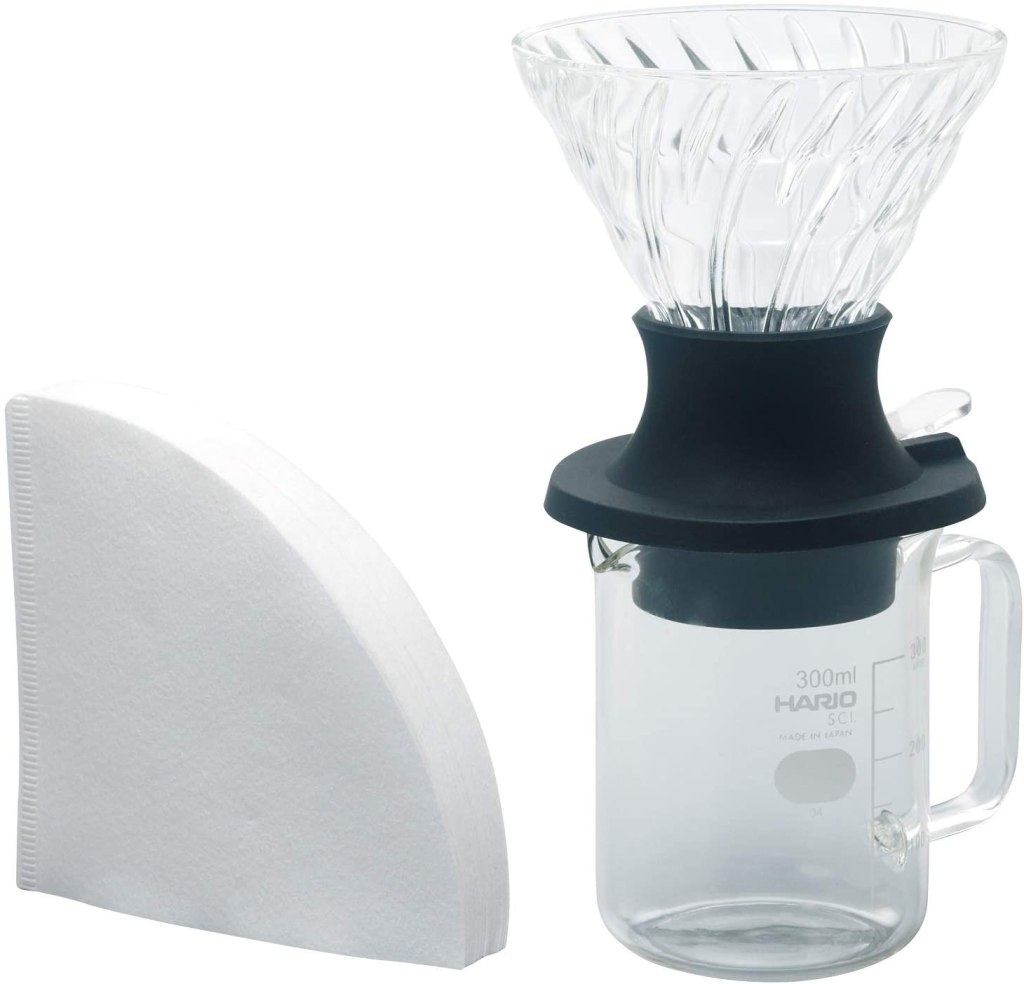
One of the things that you may like with the Hario Switch is that the construction is glass and silicon rather than plastic like with the Clever Dripper. The filter papers is uses are the same as for V60 pour over, which may or may not be a plus since the Clever Dripper uses #4 cone filters that are used in many coffee makers and more easy to find.
The glass portion of the Hario Switch is the same as their glass pour over dripper, so if you break it you can easily replace it. I always recommended getting the 03 size so you can scale your brew up or down as you need, one thing about the Switch is that the diameter of the base is a little wider so you may have trouble putting this onto a travel mug or narrower mug, most “normal” sized mugs should be fine. Pair it with the Hario Beaker and you won’t have any issues.
They sell the 02 size in a set with the smaller beaker which if you know you won’t need to make larger brew sizes this is a good option. The large beaker is marked to 600 ml and the smaller beaker is marked to 300 ml, there is some space above the top marking so you won’t overflow.
What you will need:
- Hario Switch V60 – 03 Size
- V60 Filter Papers – 03 Size
- Whole Bean Coffee
- Burr Grinder
- Kitchen Scale
- Clean Filtered Water – Preferably Soft
- Kettle (Electric or Stove Top)
- Timer (If not integrated in your scale)
- Beaker or Mug (depending on brew size)
Instructions:
- Boil the water in your kettle, it doesn’t matter if you have a gooseneck kettle or not.
- While your water is warming, using the recipe sheet and on the resources page, grind your coffee by weight to a medium/fine ground, similar to table salt. I would use a maximum brew size of about 450 ml, so for this example we will use 27 grams of coffee for 450 ml of water.
- Insert your V60 filter paper and rinse with hot water with the switch open. Dispose of the water.
- Place Hario Switch and Beaker on your scale and tare to zero with the switch closed.
- Add the 27 grams of coffee.
- Add 2-3x the weight of coffee of hot water and swirl to bloom for 30 seconds. Ensure all grounds are wet.
- Add the remaining water until the scale reaches 450 grams. (You can also try to add the 450 ml of water first and coffee second without bloom, this will aid in a faster drawdown time, see which you prefer.)
- Allow the coffee to steep for another 2:00.
- At the end of the steep stir the crust. Wait another 15-30 seconds after the stir to allow the grounds to sink.
- Flip the switch to the open position to begin the drawdown into your beaker
- Stir the coffee before serving.

4 thoughts on “Hario Switch – Dual Purpose V60 Dripper – Brew Guide & Review”